- In the bottom left, click on the Windows symbol (start menu) and then on the gear icon on the left of the start menu
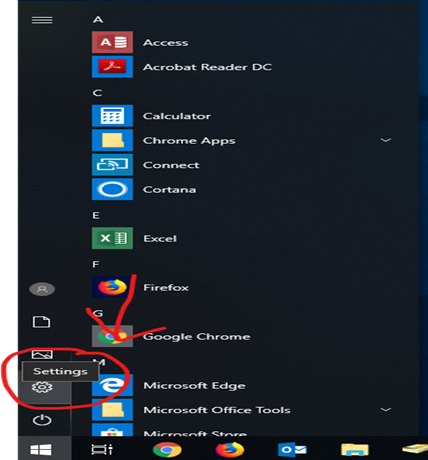
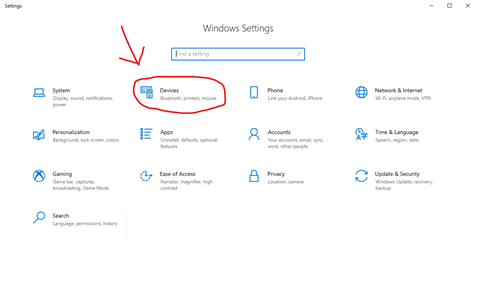
- On the settings window, click on Devices
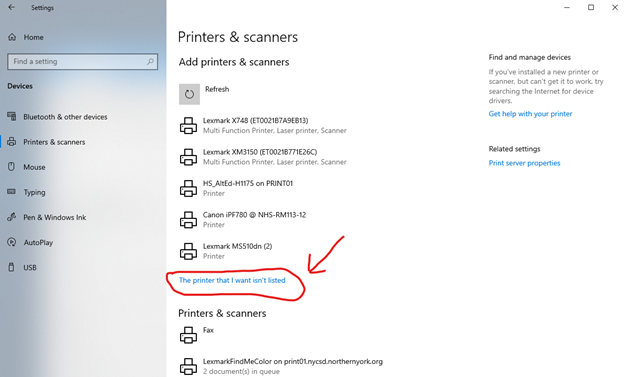
- On the left, click on Printers & scanners, then click on Add a printer or scanner

- Click on, “The printer I want isn’t listed” IF you don’t see your printer listed
- Select My printer is a little older. Help me find it.
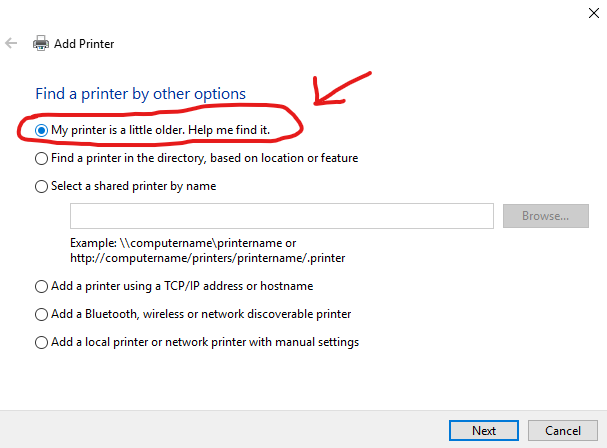
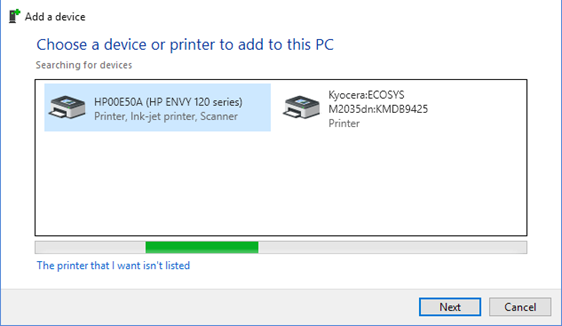
- On the next screen, select your printer and click Next
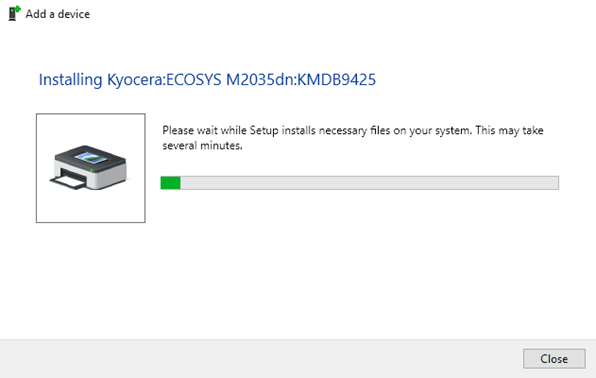
- Wait for the printer to finish installing
- You should get a message about successfully adding the printer when finished
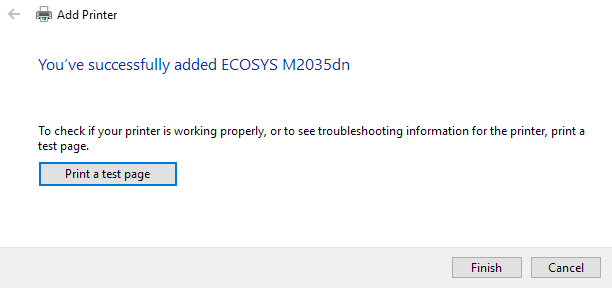
- Print a test page to verify that you were successful.
Adding a home printer to your school provided Windows device
Rate This Article
(23 out of 28 people found this article helpful)