Allowing website in ContentKeeper
The first step is confirm FOR CERTAIN that the website is actually being blocked by ContentKeeper. The easiest way to do this is to remote into the device in question where the site is being blocked while using ContentKeeper’s live trace in the backend. There is another guide on doing a ContentKeeper live trace.
https://kb.northernyork.org/knowledge-base/contentkeeper-live-trace/
If you need help, ContentKeeper support can be reached at support@contentkeeper.com
- In a browser navigate to https://filter.northernyork.org
- Log in using your credentials. If you don’t have credentials you will need to contact the IU helpdesk.
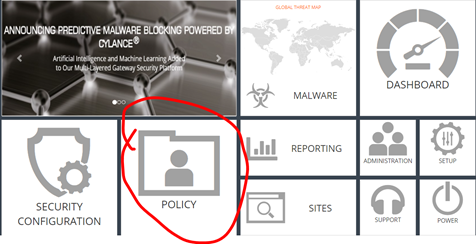
- Click on “POLICYâ€
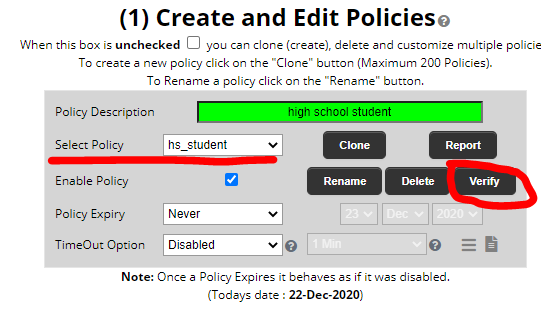
- Select the policy that matches the end user and click on verify
- Enter the URL the user is trying to navigate to or is blocked and enter the username of the user then click on “Realtime Verificationâ€
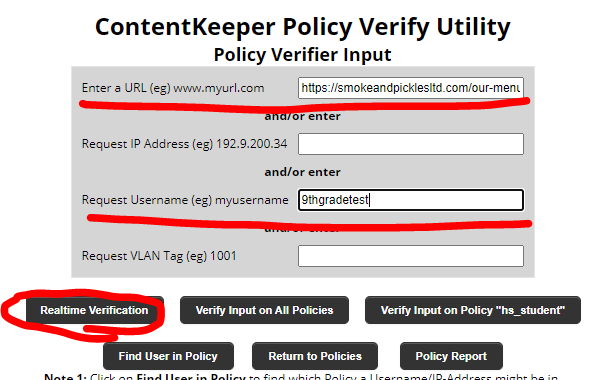
- Toward the bottom you will see if the website is blocked or not and why.
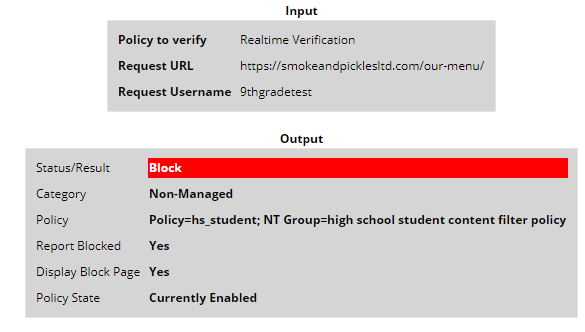
- If the website is “Block†status and has a category, this is something that will need to go through leadership to be approved before we allow it. After approved by leadership, follow steps 13-16 in order to allow the website.
- If the website is “Block†and category “Non-Managed†you can continue as you will need to categorize the website which will likely result in it being unblocked automatically.
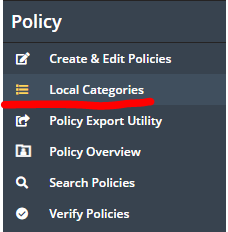
- To categorize a “Non-Managed†website click on “Local Categories†on the left
- Click into the category that best matches the website in question
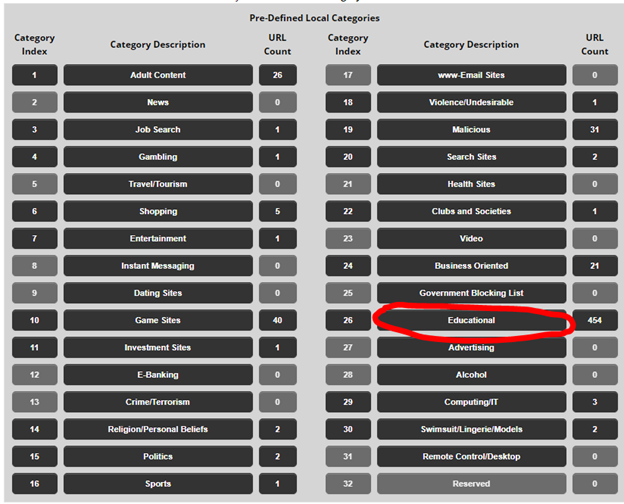
- Add the domain to the bottom of the list and click “Add URLsâ€
- Close the window and repeat steps 3-6 which will show if the site is now allowed. If the site is still blocked after categorizing it, it will need to be approved by leadership and steps 13-16 will need to be followed.
- To unblock a categorized website you will need to navigate to “Policy†and then select the policy that matches the user. The verification in steps 3-6 will tell you the correct policy. If the website is to be allowed for EVERYBODY you would use the “global†policy. “Default†policy is not to be used as this is for unauthenticated users only. Keep in mind, not everything is for every set of eyes. For example, you wouldn’t want an elementary student being able to view a world news website or sexual education website. In this case you would need to allow the website for both staff and hs_student.
- Once the policy is selected click “Custom-URLsâ€
- Scroll to the bottom of the list, add the website and select Allow then click “Save and Redisplay†The website will be added here using asterisks for wildcards. Use the other items in the list as examples. An asterisk before the domain will assume the domain and all subdomains and an asterisk after the “/†at the end of a domain will assume the root and all subdirectories on the domain. If you need to only allow a certain domain and a certain subdirectory you can leave the asterisks out and just enter the specific URL
16. Now repeat steps 3-6 again to make sure the website is allowed